
You have a recording, but what you really need is the text. Fast. Maybe it is a meeting with half the key points buried in cross-talk, a lecture packed with details you do not want to replay three times, a doctor's appointment full of unfamiliar terms, or a loud restaurant conversation that never came through clearly. Turning audio into text can save time and make information easier to use, but only if the transcript is accurate enough to trust.
That is where things get complicated. Good transcription is not just about hitting upload and waiting. Recording quality, file format, speaker overlap, language choice, and post-upload privacy all affect the final result. If you rely on transcripts for accessibility, note-taking, or documentation, those details are part of the process from the start.
Table of Contents
- Why Converting Audio to Text Is Trickier Than It Sounds
- Preparing Your Recording Before You Upload
- Uploading and Converting Audio on iPhone and iPad
- Settings That Matter Most for Accuracy
- Privacy, Storage, and What Happens After You Upload
- Exporting Transcripts in the Right Format
- Choosing the Right Approach for Your Situation
Why Converting Audio to Text Is Trickier Than It Sounds
A student replays a lecture at double speed, pauses every few seconds, and still misses a name. A deaf or hard of hearing diner tries to follow a conversation in a loud restaurant, but the lips are turned away and the noise wins. A nurse leaves a voice note after a shift, then spends longer cleaning up the transcript than it would've taken to type fresh notes.
Accuracy breaks down in ordinary places
Audio-to-text tools do well when the recording is clean, the speaker is clear, and the language is set correctly. They stumble when people talk over one another, when the room echoes, when a microphone sits too far away, or when accents and jargon show up without warning. That's why the same tool can feel excellent for a quiet phone memo and frustrating for a committee meeting or a medical visit.
A practical way to think about it is to compare the transcript to the original sound, not to the promise on the app page. One accessible guide to file types and transcription workflow is HyperWhisper audio transcription insights, which fits well if you're trying to understand what kinds of source files tend to behave better before you start uploading.
Practical rule: if the recording is hard to follow when you listen to it, it'll usually be hard for the transcript to get it right the first time.
Common formats and why they matter
Most transcription tools work with MP3, WAV, M4A, FLAC, OGG, AAC, and MP4. In plain terms, WAV usually gives the cleanest starting point because it's uncompressed or lightly compressed, while heavily compressed MP3 files can lose detail that helps recognition. M4A is common for phone recordings and lectures, and MP4 is useful when the audio lives inside a video.
A voicemail saved as a small MP3 might still transcribe fine if the voice is clear. A lecture recorded as M4A is often easier to work with than a screen recording cut from a video meeting. A meeting captured as MP4 can usually be sent in as-is, which saves you from extracting the audio first.
| Format | Typical Use | Why It Works for Transcription |
|---|---|---|
| MP3 | Voicemails, shared clips | Convenient and widely supported, but heavy compression can hide details |
| WAV | Meetings, lectures, interviews | Strong choice for recognition because it preserves more audio detail |
| M4A | Phone recordings, class notes | Common on mobile devices and usually easy for apps to process |
| FLAC | Archival recordings | Lossless quality helps when the source needs to stay as clear as possible |
| OGG | Web recordings, exports | Often accepted by tools that support more flexible audio inputs |
| AAC | Phone and media files | Common in everyday captures, especially from mobile workflows |
| MP4 | Video meetings, recorded classes | Useful when the audio is inside a video file and no extraction is needed |
Preparing Your Recording Before You Upload
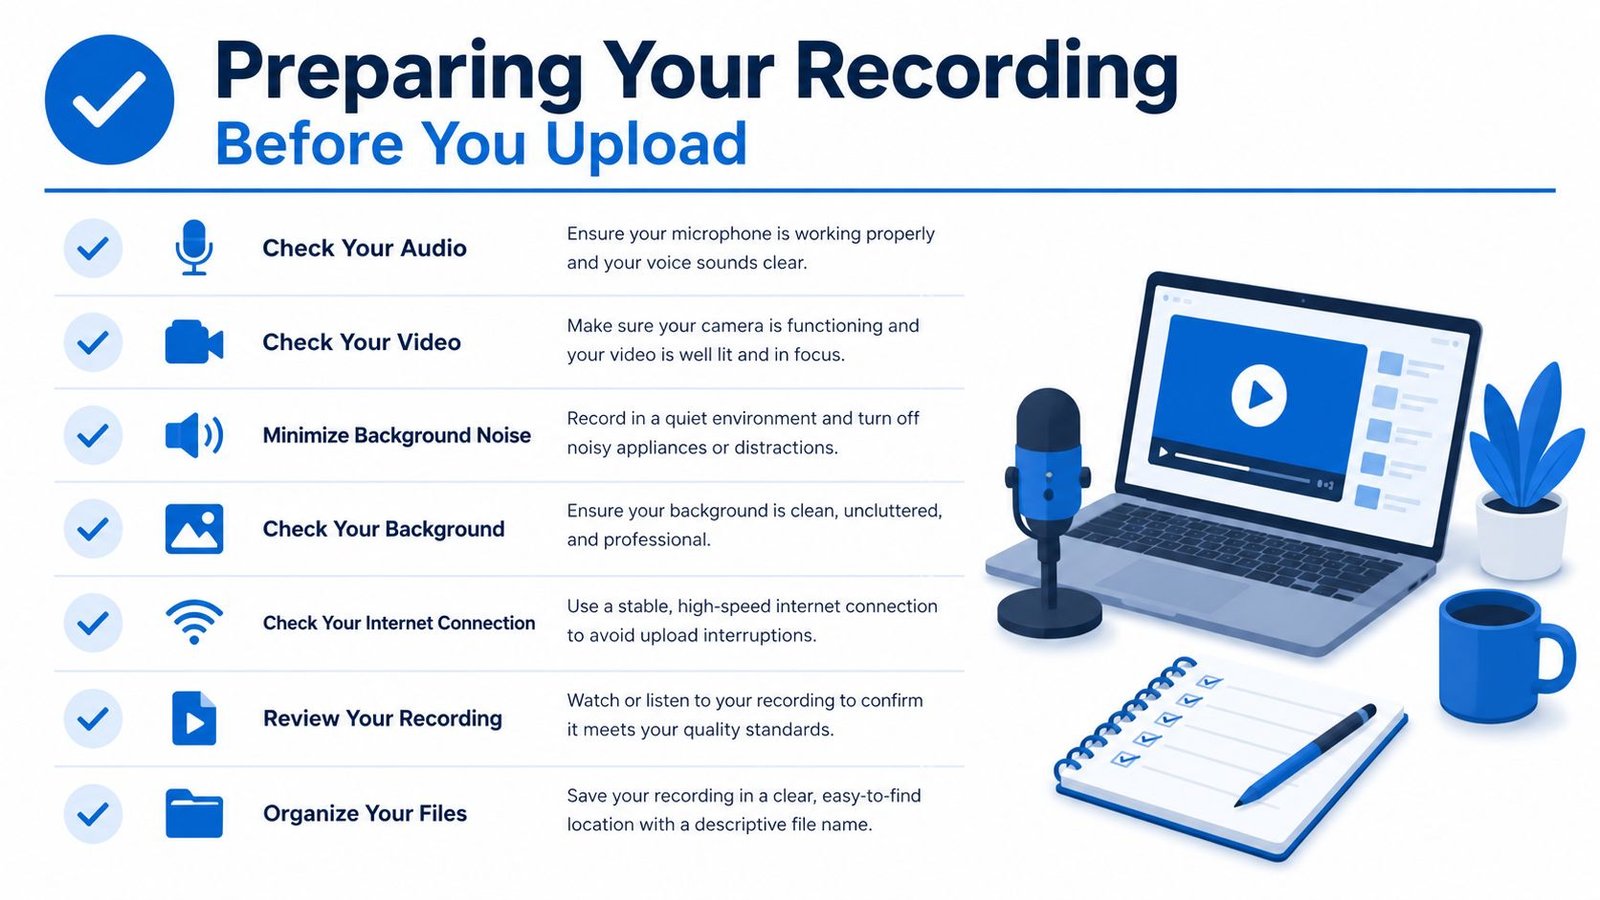
Before any upload, trim the obvious dead space. A long pause between speakers can make a transcript harder to proofread later, especially when you're trying to find one phrase in a meeting or class recording. If the file was recorded in a busy room, reduce background noise first, then normalize the volume so quiet words don't vanish.
Make the source easier to hear
If you've got a choice between files, pick the one with the least damage. A clear WAV recording usually beats a heavily compressed MP3 file, while M4A is often a practical middle ground for mobile recordings. If your source is a video, it's often fine to upload MP4 directly rather than trying to separate the sound first.
For noisy recordings, a basic cleanup pass helps more than people expect. There's a separate walkthrough on how to remove background noise from audio if the room hum, traffic, or air conditioning is fighting with the speaker.
Keep the file manageable
Long recordings are harder to review. Splitting a very long meeting, lecture, or interview into smaller chunks makes it easier to spot where the transcript goes wrong and fix only the section that needs attention. That's especially useful when names, acronyms, or technical terms appear in just one part of the recording.
A short checklist helps:
- Reduce noise first, because cleaner input usually produces cleaner text.
- Normalize volume, so quiet speakers don't disappear in the transcript.
- Prefer WAV when you have it, then use M4A or MP4 when that's the file you already own.
- Split long recordings, because smaller chunks are easier to review.
- Keep names and jargon nearby, so you can compare the transcript against the terms quickly.
Uploading and Converting Audio on iPhone and iPad
On iPhone or iPad, the basic path is simple. Open the app or transcription tool, choose a file from Files or Voice Memos, select the spoken language, and wait for the text to appear. In a tool like Live Transcribe iSrcribe, the flow is built for people who need readable text during everyday conversations, meetings, and recorded media.
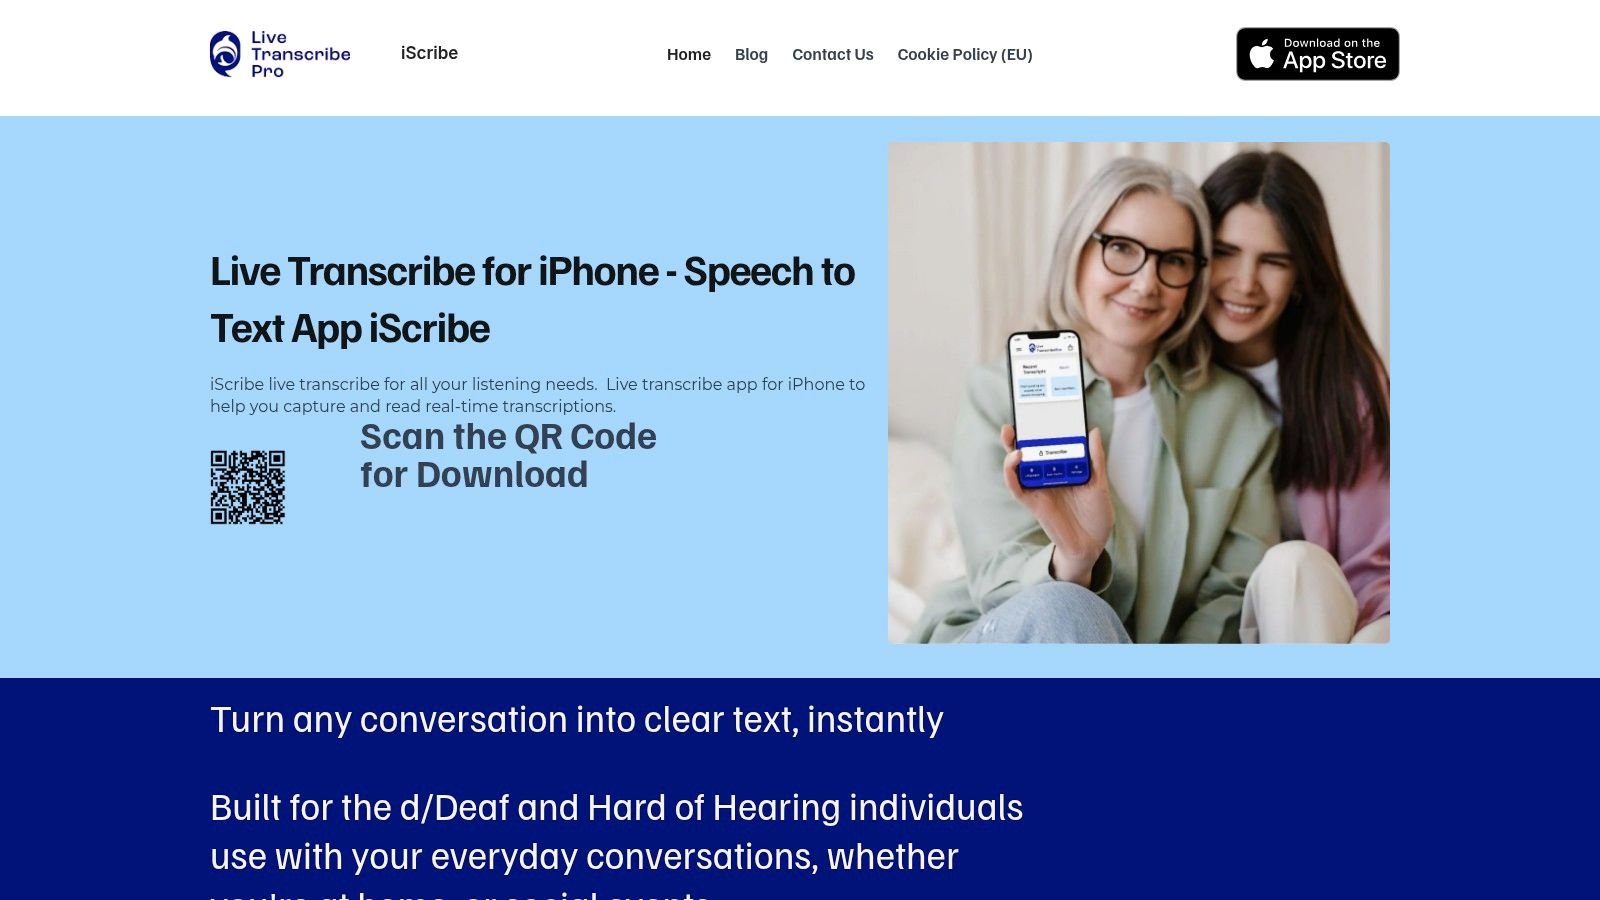
A simple iPhone workflow
Start with the recording you want to use, not the first file you find. If it came from Voice Memos, open that clip and send it into the transcription app. If it lives in Files, choose the file there, then confirm the spoken language before you begin.
That language choice matters because some tools also support 100+ languages and variants, which is useful in multilingual homes, classrooms, and travel settings. If you work across devices, the same basic workflow usually applies on desktop browsers too, upload the file, select the language, let the tool generate text, then review and export the result.
What users usually overlook
People often expect the transcript to be done when the text appears on screen. In practice, the cleanup pass is part of the job, especially for names, uncommon terms, and sentence breaks. If you transcribe often, a free tier that allows 3 transcriptions per day may be enough for light use, while heavier use calls for a plan that removes that daily limit and adds more room for repeated review.
For a step-by-step example focused on iPhone voice memos, see this iPhone voice memo guide. It's a useful match when your source is a saved memo instead of a live conversation.
Settings That Matter Most for Accuracy
The settings that change accuracy most are the ones that match the recording, not the ones that look impressive in a menu. A doctor's appointment spoken partly in another language needs the right language selected. A lecture hall with echo needs cleaner audio before it needs anything else. A meeting with several speakers needs the transcript checked for speaker mix-ups, missing words, and garbled grammar.
The settings that change results
Language selection is the first place to pay attention. Some tools can auto-detect language across 100+ languages, which helps when you are not sure what will be spoken, but a manual choice is often safer when you already know the language. That is useful for mixed-language families, travel, classrooms, and community settings where people switch between languages without warning.
You can also help the system with names, acronyms, and technical terms. If a transcript keeps turning a clinic's doctor name into nonsense, or a classroom term into a near match, the issue may not be the app. The issue may be that the speaker said something outside the tool's familiar vocabulary.
Good transcripts start with good audio, but they still need human review.
What the benchmark numbers mean in real life
A quality metric called Word Error Rate, or WER, is used to measure transcription mistakes. It is calculated as (substitutions + insertions + deletions) / total words × 100. In practical terms, a WER of 5–10% is usually considered high quality, while anything above 30% is poor enough to need substantial manual correction, according to AssemblyAI's explanation of speech-to-text accuracy.
That same source gives a simple way to think about transcript cleanup. 95% accuracy is about 5 errors per 100 words, while 85% accuracy is about 15 errors per 100 words. Those extra errors do not just add time, they make the transcript harder to trust for notes, captions, or accessibility support.
How model choice changes the output
In one comparative study, Whisper large reached a mean WER of 4.7%, Whisper medium reached 5.6%, and NeMo reached 7.2%, while Google recorded 13.3% and one wav2vec setup reached 21.1%. A separate field study on smartphone voice answers found that Whisper produced 72.5% of transcripts that were perfect or almost perfect and only 5.2% with major quality issues, compared with Google's API at 36.7% perfect or almost perfect and 20.0% insufficient or major-error transcripts, from this speech transcript comparison study.
The same study found that Google had 56.2% of transcripts with a word transcription error and 34.3% with missing words, while Whisper reduced those to 30.8% and 11.1%. That matters because the problem is often not just a wrong word, it is a missing word or broken sentence that changes the meaning.
If you want to compare tools by features before you settle on one, this overview of iScribe audio transcription features is a useful place to start. It helps frame the choice around the kind of recording you need to handle, whether that is a noisy restaurant, a lecture, a medical appointment, or a phone call.
Privacy, Storage, and What Happens After You Upload
Uploading a recording is not only a transcription choice, it's a storage choice. That matters most when the file contains a medical appointment, an HR conversation, a class discussion, or a private family exchange. Microsoft Word's transcription flow, for example, saves recordings to OneDrive before processing, as described in Microsoft's own transcription support page.
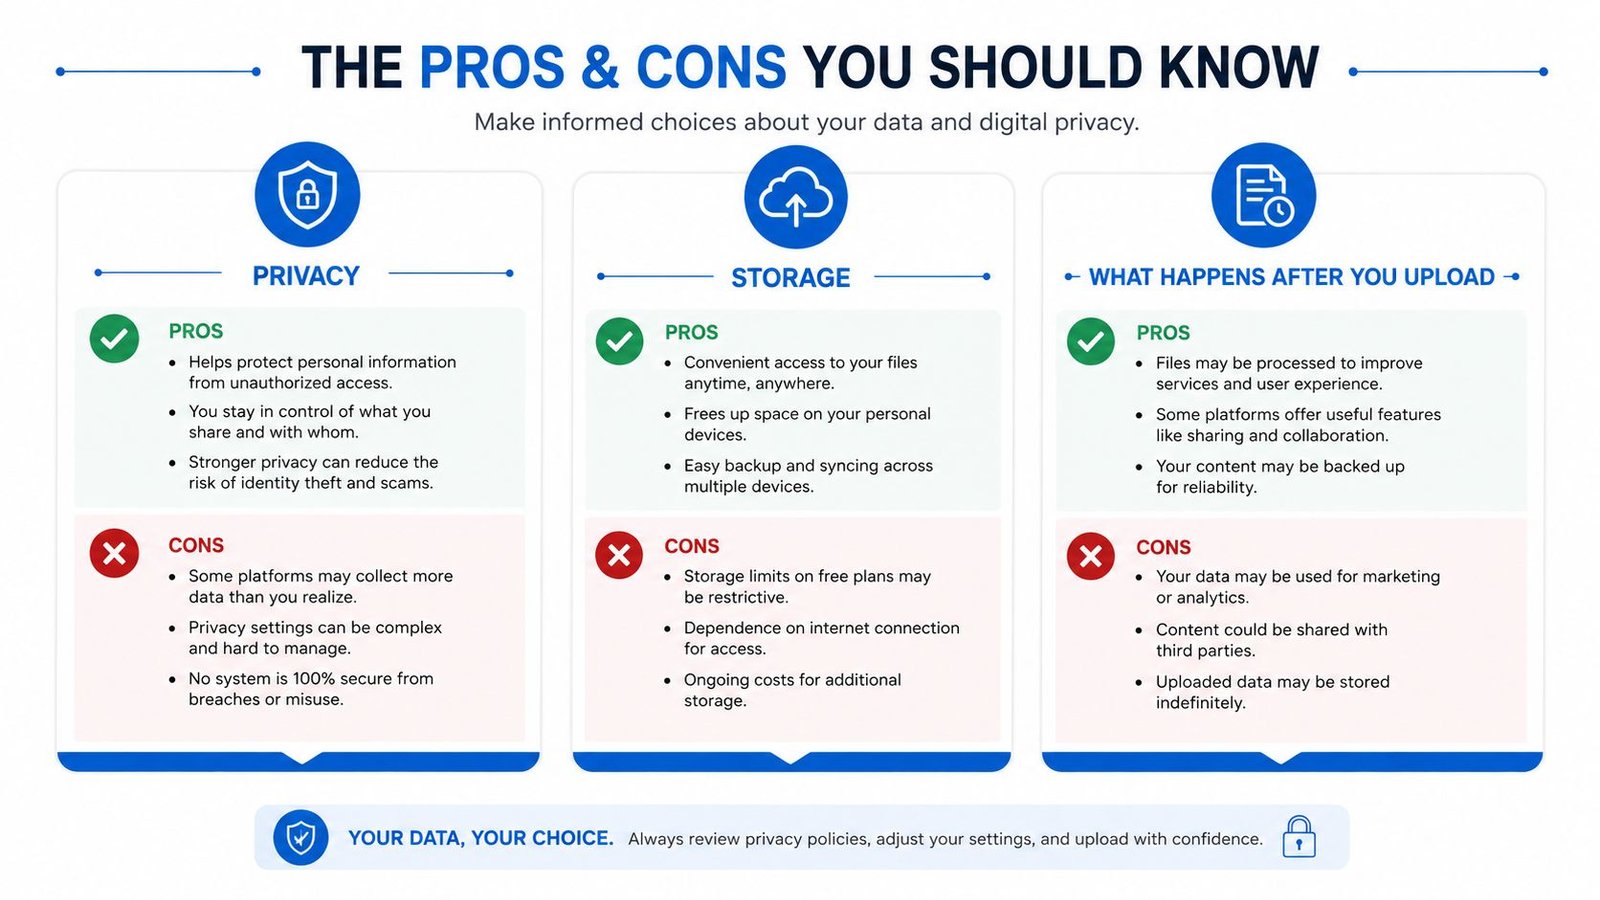
Questions worth asking before upload
Who stores the file. How long do they keep it. Can you delete it yourself. Is the transcript tied to a cloud account. Can another person with access to that account see the recording later. Those questions matter more than speed when the content is sensitive.
Most how-to pages focus on the upload button and stop there. For accessibility users, that gap is real. A person deciding whether to upload a healthcare conversation or a confidential team meeting needs to know what happens after processing, not just how quickly the text appears.
A simple decision rule
Use cloud transcription when convenience matters and the file isn't highly sensitive. Use a more controlled workflow when the recording contains personal, legal, medical, or work material that shouldn't sit in someone else's storage system longer than necessary. If the privacy policy is vague, treat that as part of the cost, not fine print you can ignore.
Exporting Transcripts in the Right Format
The best export format depends on what you need next. A transcript for personal notes doesn't need the same shape as captions for a video or a document you want to edit with a colleague. Some tools also generate summaries alongside the raw transcript, which can save time for meeting notes and lecture review.
Match the file to the job
TXT is plain text, so it's easy to copy, paste, and search. DOCX is better when you want to revise wording or share the file as a document. SRT and VTT are caption formats, which makes them useful for videos, classes, and accessibility work.
| Format | Best For | Common Tools or Apps Accept |
|---|---|---|
| TXT | Quick notes and plain text review | Apps that export simple transcripts |
| DOCX | Editing, sharing, and document work | Word-based workflows and desktop editors |
| SRT | Video captions | Captioning tools and media editors |
| VTT | Web video captions | Browsers, accessibility tools, and video platforms |
Don't stop at export
Exporting isn't the end of the process. If the transcript contains a missed name, a broken sentence, or a wrong caption line, the error follows the file wherever you send it. For meetings, lectures, and interviews, the useful transcript is the one you can still read clearly after the export choice is done.
Choosing the Right Approach for Your Situation
Different situations call for different tools. A student in a lecture hall needs a workflow that handles long recordings and later cleanup. A professional in meetings may care more about searchable notes and export options. A deaf or hard of hearing user in a noisy café may need live captions first, then a saved transcript later. A traveler might value language support and quick review, while a journalist may care most about file quality and export control.
This guide to AI audio transcription apps is useful if you're comparing tool categories before settling on one workflow.
| Situation | What Matters Most | Better Fit |
|---|---|---|
| Lectures | Long files, note review, captions | File upload plus editable export |
| Meetings | Accuracy, summaries, shareable notes | Cloud transcription with review |
| Deaf and hard of hearing conversations | Real-time captions, readable text | Live captioning on iPhone or iPad |
| Travel and multilingual use | Language support, quick transcription | Tools with broad language coverage |
| Interviews and research | Clean source audio, careful proofreading | Desktop workflow with strong export options |
A cloud app is often easiest when speed matters. A desktop editor can be better when you want more control over editing and saving. A built-in dictation tool may be enough for short, low-risk recordings, but it usually won't be the right answer for a noisy room or a file that needs careful cleanup.
If you want a transcription workflow built around accessibility, readable on-screen text, and saved transcripts for later review, iScribe Live Transcribe is one option to look at. It supports live speech and file-based transcription on iPhone and iPad, which makes it useful for meetings, lectures, and everyday conversations.